This walkthrough takes you from an empty dashboard to a shared timeline: a wedding on your dashboard, a day built out block by block in the timeline editor, and a link your couple can open on their phone. The link stays live as you keep editing, so there is nothing to re-send later.
Create the wedding
- From the dashboard, click New wedding.
- Enter a first and last name under Partner A and under Partner B, and set the Wedding Date. The date is required.
- Fill in the two optional fields if you can. Location feeds the sunset and golden hour times Daymarked calculates for the day, so search for the actual venue and pick it from the list. A venue typed without picking gives no sunset. Coverage is the number of booked hours you are shooting; the timeline uses it once you place a ceremony block.
- Use Notes for anything only you should see: venue access details, special requests, anything you would rather not put in front of the couple.
- Save the form. You land directly in that wedding's timeline editor.
Start from the ceremony time
A brand-new timeline opens with a short prompt rather than a blank canvas. It has two columns, Ceremony and Reception, because those are the two fixed points the rest of the day gets arranged around.
Enter the ceremony time. The field is forgiving, so "430", "2pm", "9a" and "14:30" all work. Add a reception time if there is one, tick First Look if the couple is having one, and click Build my timeline. Daymarked places the ceremony and fills in the blocks around it, so you start from a real day. The lengths come from your studio's own block defaults, and everything stays editable.
Each column also has its own link out: Add ceremony location and Add reception location. What you enter there lands on that block and shows up in the locations list on the timeline your couple sees. If the wedding has no location set yet, Daymarked fills it in from the reception, or from the ceremony when there is no reception. A location you entered yourself is never changed.
If you would rather place blocks yourself, click I'll build it myself and the block palette opens instead. The menu at the prompt's top right also holds Import from questionnaire, if the couple has already answered one. You can skip the prompt now and build backwards from the ceremony later, from the timeline's toolbar.
The same prompt appears on your phone, so you can start the timeline wherever you are. On a phone it fills the screen on its own; the status and coverage buttons appear once the timeline has blocks.
Build the day in the agenda view
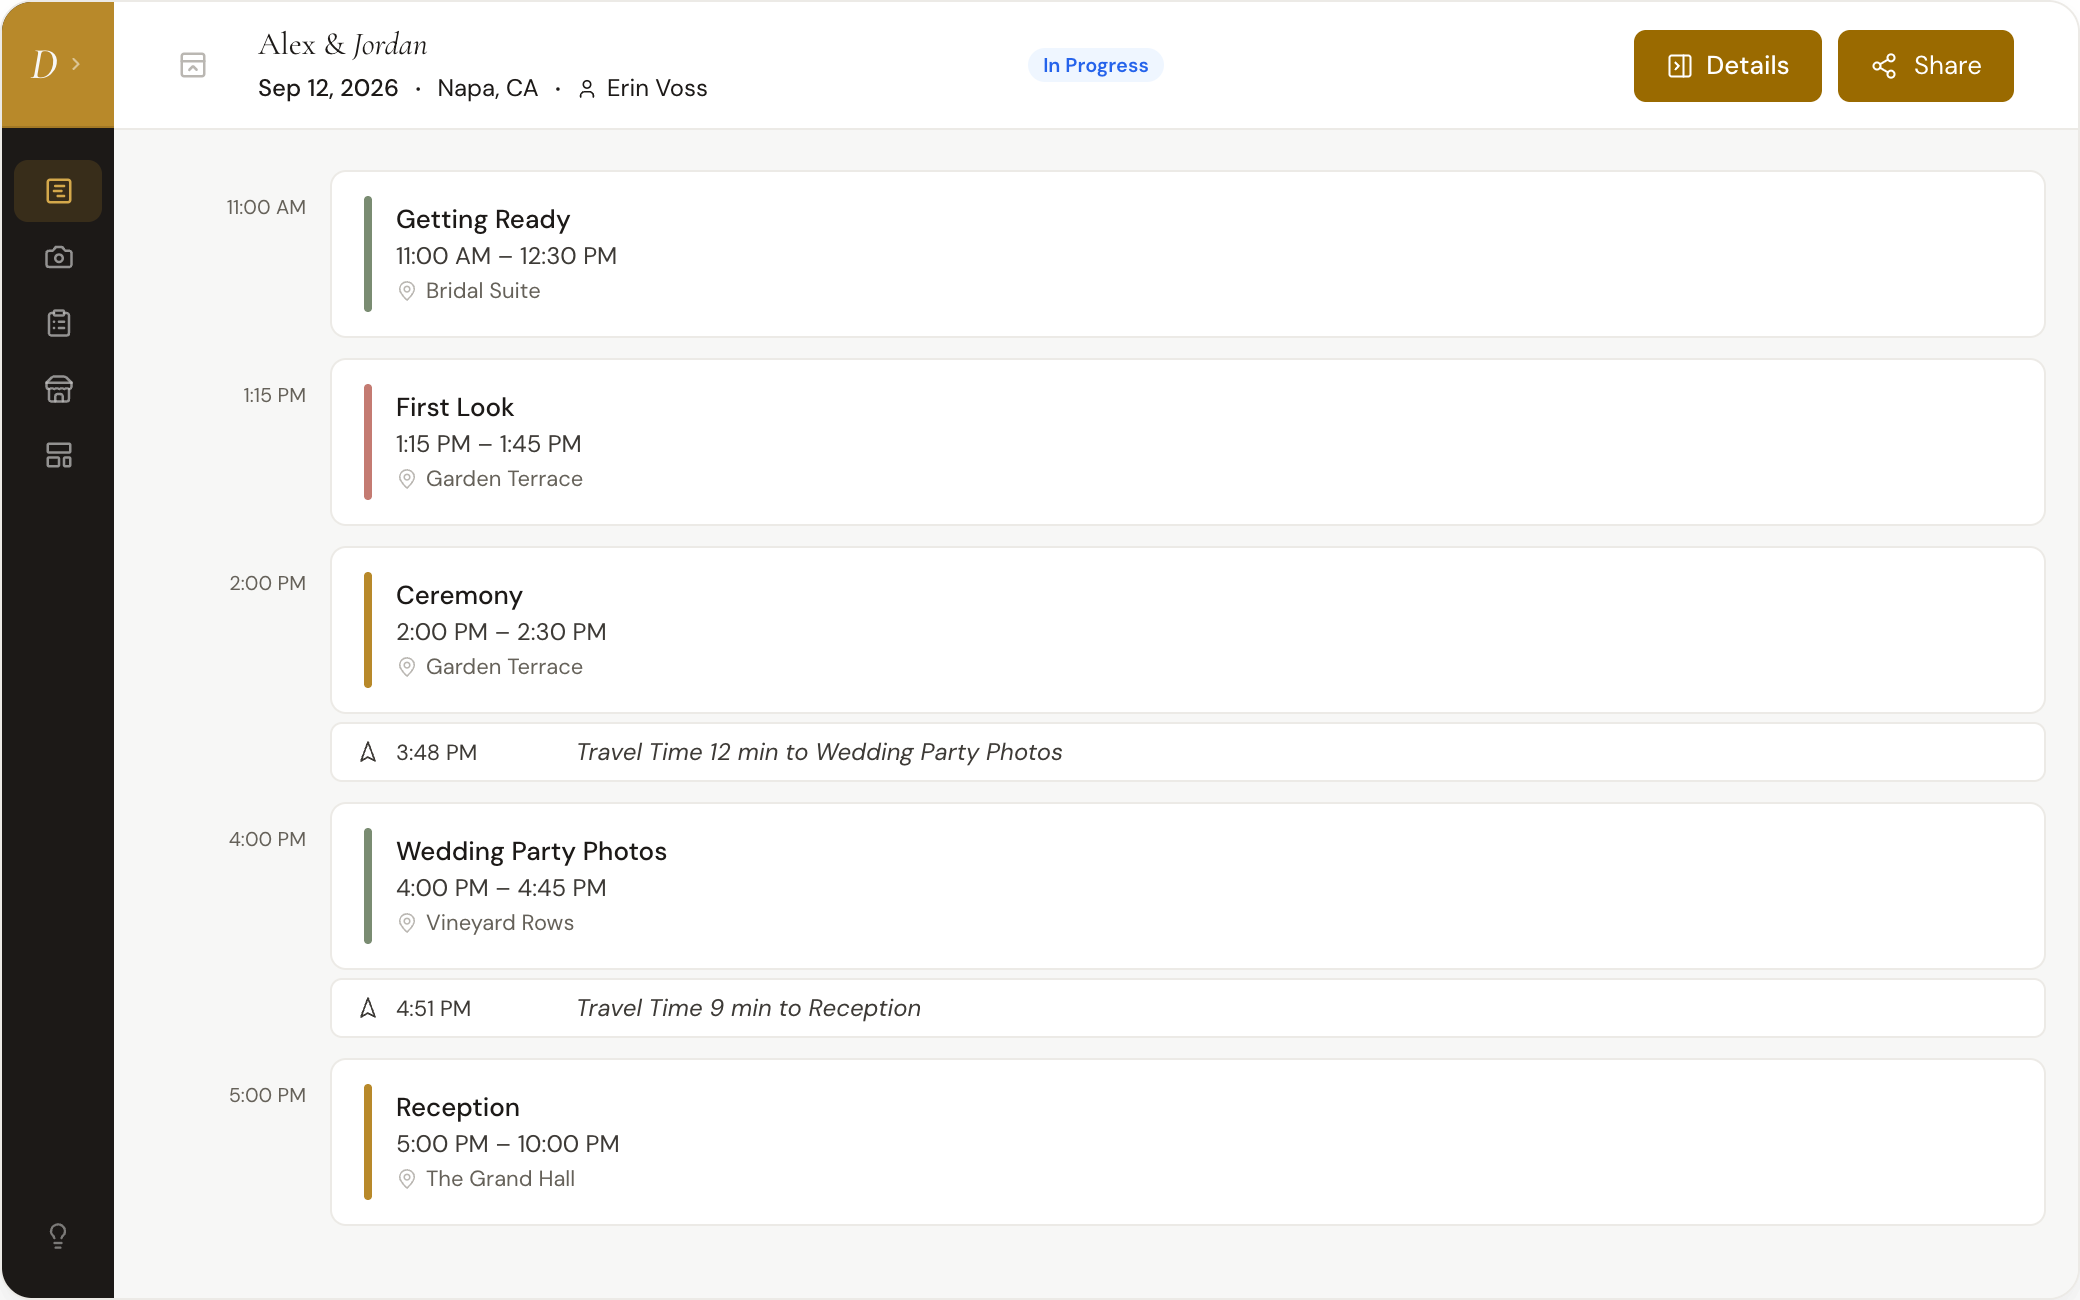
The timeline shows the Agenda view: the day as a list, first block to last. The block palette runs along the side, one row per event type: Getting Ready, First Look, Portraits, Wedding Party Photos, Family Photos, Ceremony, Cocktail Hour, Dinner, Reception, Party Bus, Travel, and Buffer / Break. Drag a row into the list and drop it into a gap. The block drops into place and its times fill in from the blocks around it, so you are not typing a schedule from scratch.
Ceremony carries extra weight. It sits on its own at the top of the palette, highlighted in gold, until you place one; after that it rejoins the list in day order. When you place it, the coverage hours you entered at creation resolve into an actual window, centered on that block, marking where your booked coverage starts and ends against the rest of the day.
Keep adding blocks until the day is built out. To move a block after it is placed, click its start or end time and type the new one, or click the empty part of the block to select it and use the arrow keys. On a phone, open the block and tap Move at the top, or tap Select at the top of the timeline to move several blocks at once. The editor has more than one visit covers, including section headers, notes, and subtasks, and it is worth its own read once you have the basics down.
See what your couple sees, then send it
The first time your studio shares a timeline, the Share button opens with a single Preview as couple button. On a phone, Share shows just the share icon, at the top right. The preview shows the timeline exactly as your couple gets it: the same page their link opens and the same layout as the PDF, with your branding.
Send it from there. Copy link creates the link and copies it, and PDF downloads the PDF. On a phone, Copy link also opens your phone's share menu, so you can send the link straight from Messages or Mail. If sending will use your free wedding, the preview says so above the timeline, before you click.
After that first share, Share opens straight to Copy link and PDF. The eye icon next to PDF still opens the preview whenever you want to check what your couple sees, and on a phone it's Preview as couple in the Share sheet. Previewing on its own never uses your free wedding.
Your shot list works the same way. Until your studio's first share, the shot list's Share button, in a wedding's Shot List tab and on the Shot Lists page, shows only Preview as couple, which opens the shot list exactly as your couple gets it, with its own Copy link and PDF. After that, the eye icon next to its PDF opens the same preview.
The first click mints the link. Every click after that hands out the same URL, so there is no risk of sending your couple two different addresses.
What they open is read-only and always current. It reflects the timeline as it stands right now, not a PDF from the day you sent it. Move the first dance twenty minutes later next week and their link shows it, without you sending anything again.
Sharing (or exporting a PDF) is what uses your free wedding's credit. Build and rearrange as much as you want before that point at no cost. The credit is only spent once you actually hand the timeline to someone.