Every wedding photographer has felt a day start to slip. Hair and makeup takes an extra 45 minutes, that eats into your first look, and now you're scrambling to finish family formals before the ceremony music starts. The unique challenge of a wedding day is the mix of fixed anchors that never move, like the ceremony, and the times you or the planner set to give the rest of the day its structure.
If you don't leave enough buffer before the ceremony, a 15-minute delay in the morning can push your formals right off the end, and now you're making them up at a different time in a different location. Start your coverage too late into getting ready and you're missing moments while you're still figuring out where to hang the dress for detail photos.
A well-built timeline absorbs a late morning without anyone noticing. This guide walks through how to build one, the real numbers behind each section, and a full example built backwards from a 4:00 PM ceremony.
A good timeline is broad, not precise
Most timeline advice tells you to plan the day in five-minute increments. After ten years and a couple hundred weddings, I build the opposite way, and so do most photographers I trust.
A day planned to the minute has no room to absorb the normal variation of a wedding, so one delay ripples through everything after it and a delay that doesn't actually matter starts to feel like a crisis. Instead, overestimate most parts of the day by 15 to 30 minutes, and use subtasks to track what needs to happen without chaining each one to the clock. Getting ready is the clearest example: the couple might want a robe reveal, a gift exchange, a first look with the bride's dad, and the exact minute each one happens doesn't matter as long as you end on time. Built this way, a timeline bends instead of breaking.
I learned how much this matters at a wedding where the first look got delayed a full hour. We still got every photo we wanted, because the cushion was already built into the rest of the day. When the morning runs long, the slack absorbs it. When it doesn't, you get more pictures, or you just breathe.
Start with what can't move
Start with the two things on the day that are already decided for you: the ceremony time and sunset.
The ceremony is the structural anchor. It's booked, the guests are told, and at a church it might have another wedding right behind it, so it does not move. Everything else on the day gets arranged around it.
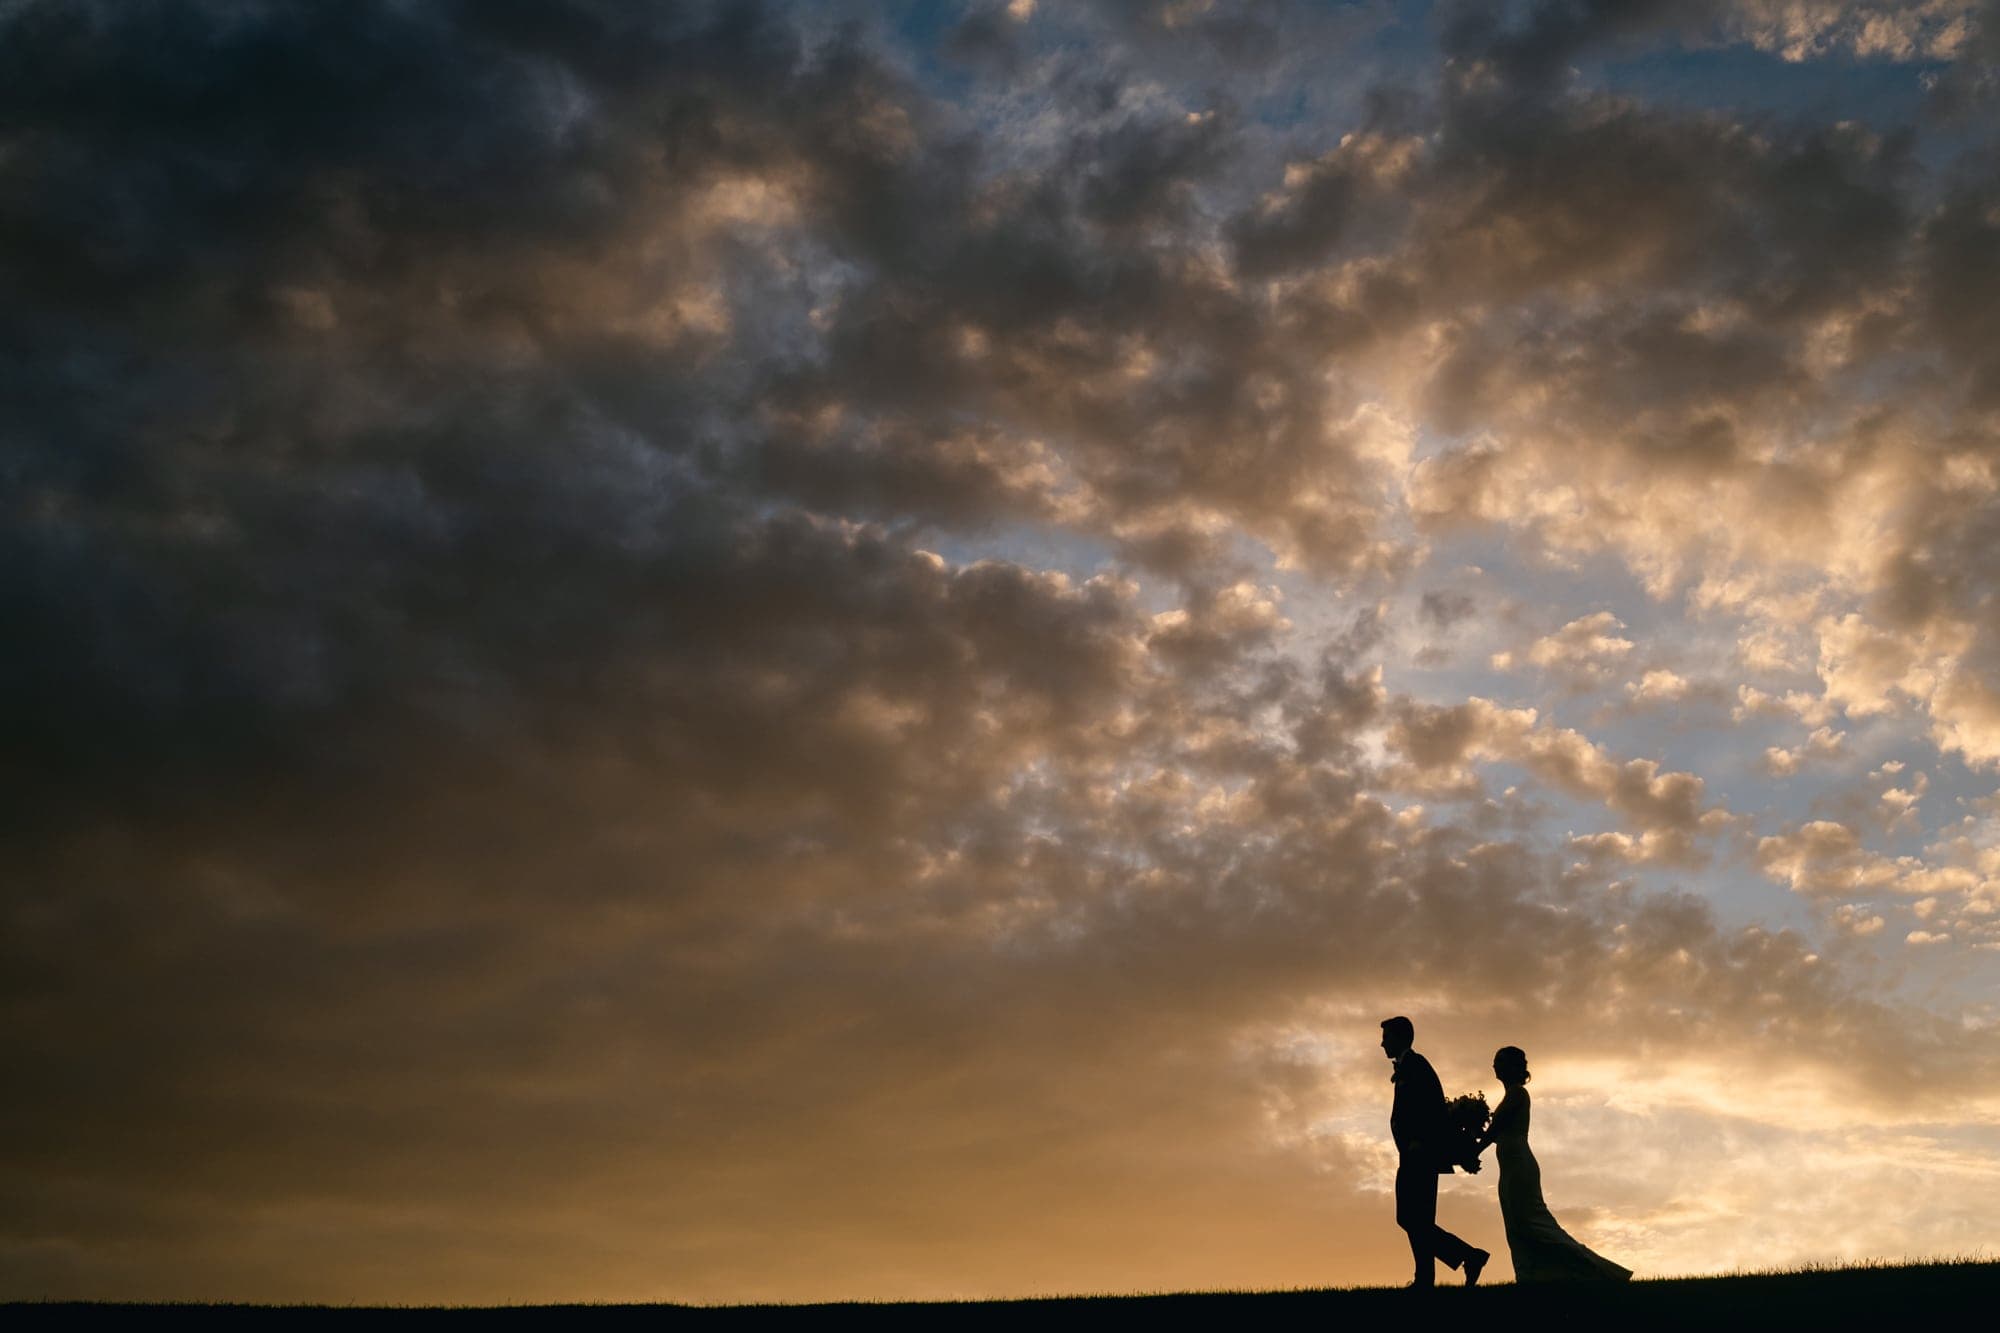
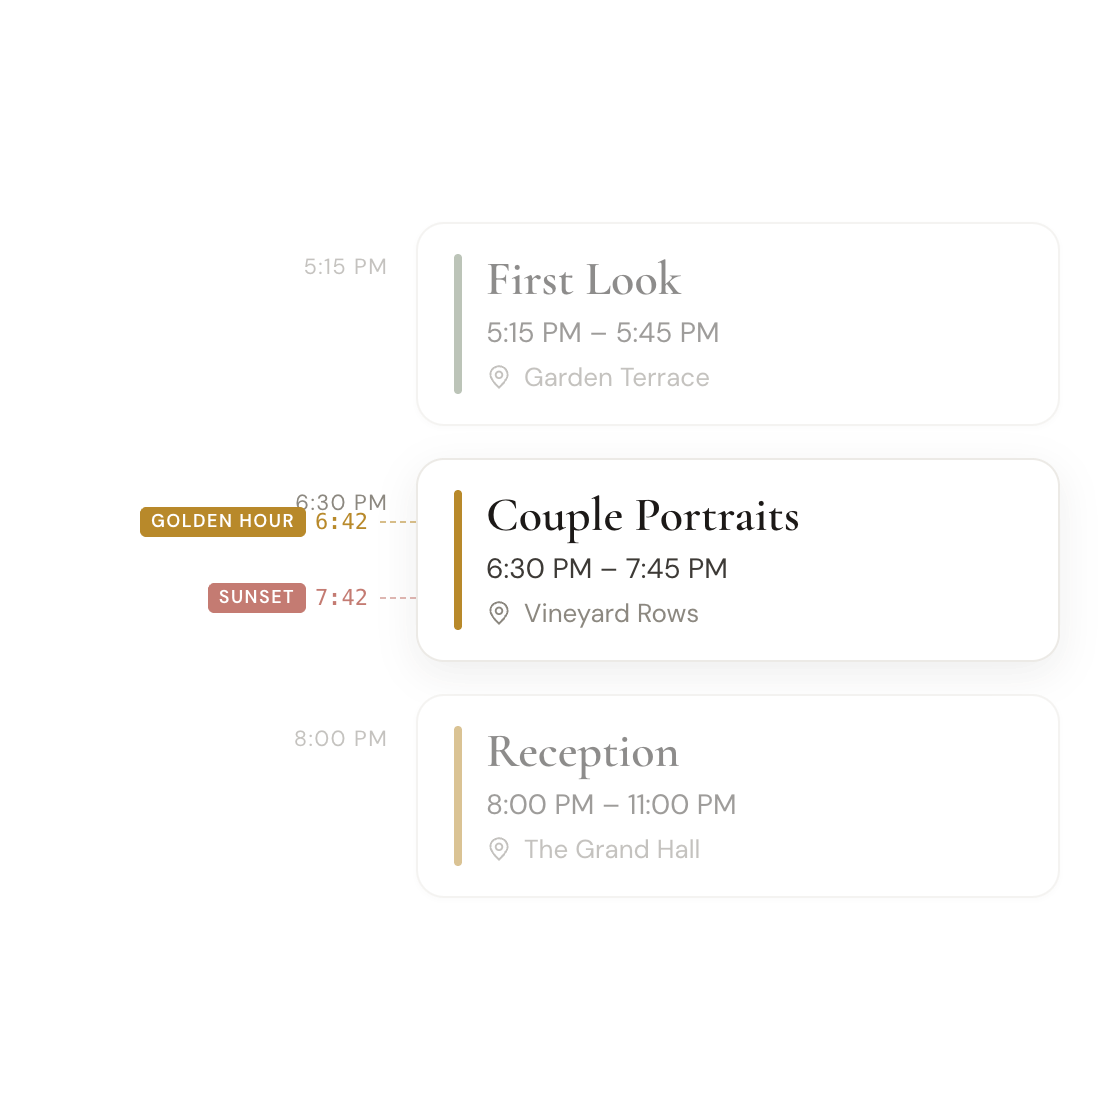
Sunset is the light anchor. The best light for couples portraits is roughly the hour before sunset, and that window is set by the date and the location, not by your timeline. This is the one I forgot constantly early on. You're planning a wedding months out, in a different season, and it's easy to forget that the time of year and daylight saving completely change when the good light shows up. A 6:00 PM sunset and an 8:30 PM sunset build two completely different days. Look up the real sunset time for the venue and date before you plan anything around portraits. For the full method on finding that window and protecting it from a late grand entrance, see the guide to golden hour wedding photography.
Build backwards from the ceremony
Once you have the ceremony time, you work backwards from it to find where your coverage has to start.
The rule I build around: every photo before the ceremony is wrapped at least 30 minutes before it begins. That buffer is the single most important block on the day, because it's what absorbs a late morning before it can reach the aisle. Some churches want photos done a full hour ahead, so confirm that in advance.
From that point, stack the pre-ceremony events backwards in order:
- Buffer before the ceremony (all photos wrapped): 30 minutes
- Wedding party formals
- Couples portraits (a first set)
- First look, if there is one
- Travel from getting ready to the venue
- Getting ready
Whatever that stack adds up to is your coverage start. If a couple books eight hours and the math says coverage has to start at 11:30, that's real information: either the hours fit the day they want or they don't, and you've found out at booking instead of on the morning of. Then you build forward from the ceremony, through cocktail hour and the reception, to find where coverage ends.
How long each part of the day really takes
These are the durations I budget after a couple hundred weddings. Treat them as starting points, not laws. Every photographer adjusts, and so should you. (For the full block-by-block reference, see how long every part of a wedding day takes.)
- Getting ready, main side: about 2 hours. Longer with a bigger wedding party, a single hair and makeup artist, a lot of detail items for flat lays, or a venue you've never shot.
- Getting ready, second side: 45 to 60 minutes, usually shorter, often just catching the end.
- First look: budget 30 minutes for the reveal and the portraits right after. Add time if the couple wants more than one, like a first look with a dad or the bridesmaids, which can push it toward an hour. Whether to do one at all is the largest structural decision on the day; the first look vs. no first look guide builds both versions side by side.
- Couples portraits: 30 to 45 minutes total, usually split across the day. Some at the first look, some after the ceremony, some at sunset.
- Wedding party formals: about 30 minutes.
- Family formals: roughly a minute and a half per grouping, about an hour for a normal list, but attendance is the real time drain here. One person missing causes more delay than ten extra photos. Building the list itself is its own guide.
- Ceremony: 15 to 30 minutes for a short secular ceremony, 60 to 70 for a full religious one. Plan for a catholic ceremony to run about 15 minutes over.
- Cocktail hour: 60 minutes.
- Reception moments: grand entrance about 5 minutes, toasts about 10, first dance about 3, parent dances about 5, cake cut about 5, then open dancing, which is usually where coverage ends.
These look generous on purpose. That cushion is the whole point, which brings us to buffer.
Where the buffer goes
Buffer is something you learn from experience, and a lot of new photographers skip it entirely.
Rather than explicitly adding "Buffer" to your timeline, overestimate most parts of the day by 15 to 30 minutes each. When one thing runs long, the slack right next to it absorbs the hit instead of passing it downstream. The day where my first look ran a full hour late still worked because that padding was already everywhere it needed to be.
A few specific places it has to go, learned the hard way:
- 30 minutes before the ceremony, always. This is the one that protects the anchor.
- On travel. Driving-time estimates assume one car and no friction. Add at least 10 minutes for loading people in, driving slower as a group, and parking. On a shuttle or party bus, add more. A bus can take 10 minutes just to unload.
- At the end of getting ready, for the small stuff that eats time invisibly, like the bride actually getting down to the hotel lobby.
None of this is in any template. You learn each one by getting burned by it once, and then you always account for it after.
Get the details right so the timeline can be loose
A broad timeline only works if the details underneath it are exact.
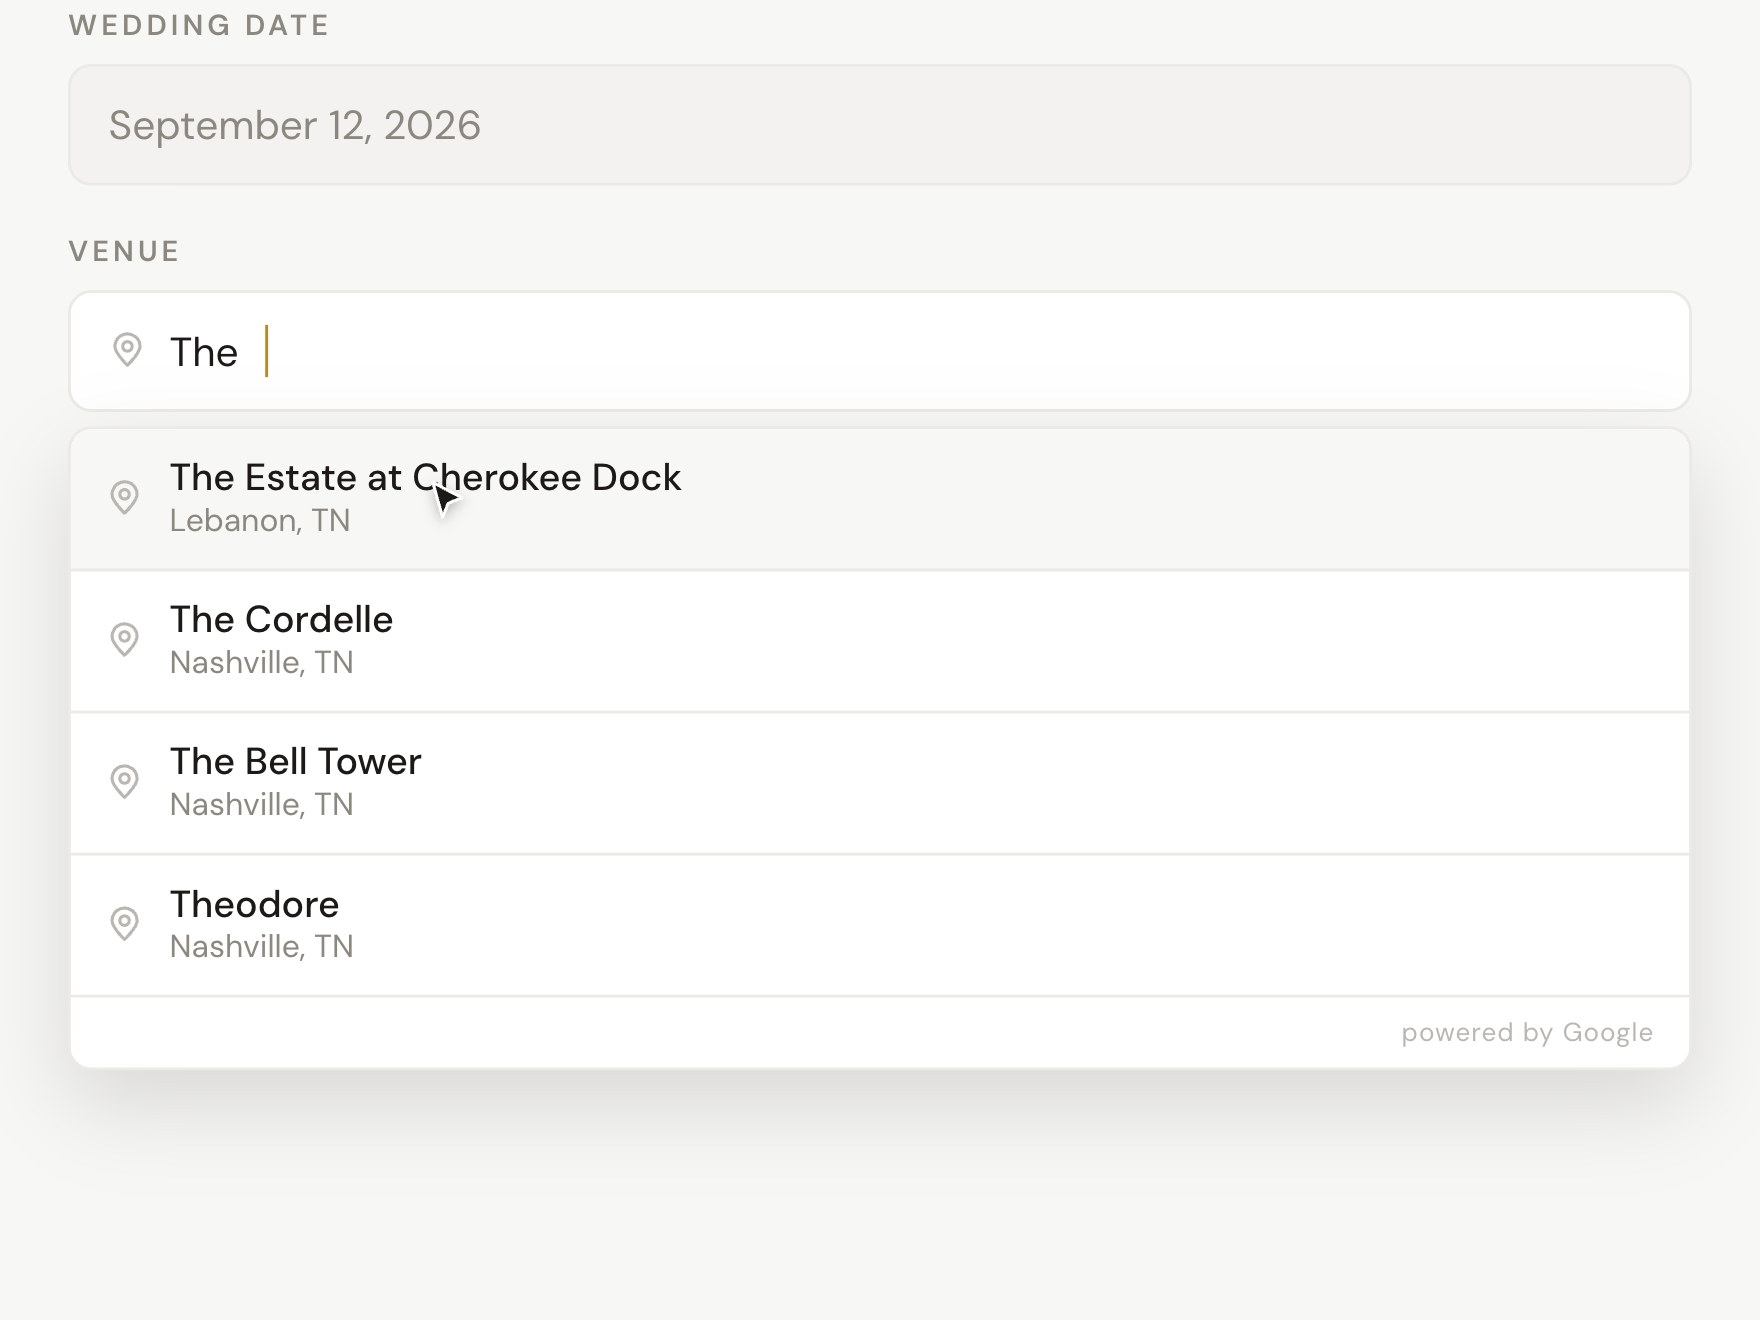
Early on I took whatever a couple gave me. "Getting ready at my mom's house." "Ceremony at St. Mary's." Then I'd show up on the wedding day, go to put it in my phone, and realize there are three St. Mary's in the area and I'm at the wrong one. Ask "where are you getting ready?" and you get "my mom's house." Ask for a full street address.
Collect the things the timeline depends on as specific answers, not open text: a full address for every location, real times instead of "around 4," ceremony type and length, first look yes or no, the family groupings by name. Lock those down months out and you can keep the day itself loose, because the facts under it are solid. The full question list, with the format to collect each answer in, lives in the wedding photography questionnaire guide.
The same answers build your family formals shot list
There's a bonus hiding in that details list. The names and relationships you collect for the timeline are also exactly what the other pre-wedding document needs: the family formals shot list. Collect them once, properly, and you get both documents out of one ask.
To build a family formals shot list, you need the couple's family information in a specific shape: every family member's full name and their relationship to the couple, gathered for each side separately, plus a note of anyone who is both family and wedding party so they don't fall between the two lists, and the name of any extended-family group that wants its own photo. Names without relationships fail at the desk: you can't design "couple with her parents" if you can't tell which names are the parents. Relationships without names fail on the wedding day: you're standing in front of a crowd of strangers calling for "the groom's mom" and hoping. With both collected together, the groupings almost design themselves, and on the day you're calling "Kerry and Bob, you're up" to people who respond because you used their names.
The full method is its own guide: how to order the groupings so nobody stands around, what formals honestly cost in time, how to structure divorced parents and step-family, and a complete template to copy. All of it is in the family formals shot list guide. For the timeline's purposes, the point is the same one as above: collect exact details months out, and more than one document gets easier.
Your timeline vs. the couple's
The couple needs a clean version of the day: where to be, when, and what's happening. They don't need your internal notes. A block labeled "30 min cushion" can make a couple think something is wrong, when it's just how you protect the day.
So the version you keep for yourself carries a little more than theirs: reminders, vendor contacts, the note that the coordinator wants photos wrapped early, the exact spot you scouted for the first look. None of it is secret. It just has no value to the couple and would only clutter their view of the day.
The trap is keeping two completely separate documents, because that's where version-control problems start: you change one and forget the other. What you want is one timeline that shows the couple their version and keeps yours underneath it. What to do once the day starts changing, and how to keep every copy current, is covered in the guide to timeline revisions.
When the day runs behind
Even a well-built timeline runs behind sometimes. When it does, you want to already know what gives and what doesn't.
Here's my order. The first thing I cut is portrait time right after the first look, because those photos can be made up later, at sunset or after the ceremony. If I need more, I trim family formals, since I rarely use the whole time and those can be made up too. The one thing I never touch is the photo cutoff before the ceremony. The entire day is anchored to that moment, so it holds no matter what.
What turns a delay into a disaster is having no plan for the squeeze. Early in my career I shot a 1:00 PM catholic ceremony with no first look, at a church that ran a second wedding at 3:00. That left almost no window for family formals in between, their ceremony ran long, and the next couple started showing up before ours was even over. We got a few formals inside, then scrambled outside with nowhere picked to go. A timeline that had seen the crunch coming would have had a backup location ready. Knowing what flexes, and planning before the day rather than during it, is the whole difference. Recovering a behind-schedule day is worth a guide of its own.
A full day, built backwards from a 4:00 PM ceremony
Here's the method end to end on a real shape of day. Assume a 4:00 PM ceremony, eight hours of coverage, a first look, a short ceremony, and getting ready about 20 minutes from a single venue that hosts both the ceremony and the reception. Say it's a late-September Saturday near Omaha, so sunset is around 7:15 PM and golden hour runs roughly 6:15 to 7:15. (Look up the real sunset for your venue and date; this one is for the example.)
Step 1: anchor at the ceremony and stack backwards to find the start. Every photo is wrapped 30 minutes before the ceremony, and the pre-ceremony blocks stack back from there:
- Ceremony: 4:00 PM
- 3:30 - 4:00 PM, buffer (all photos wrapped, guests start to arrive)
- 3:00 - 3:30 PM, family formals
- 2:30 - 3:00 PM, wedding party formals
- 2:00 - 2:30 PM, first look & couples portraits
- 1:30 - 2:00 PM, travel from getting ready to the venue (20-minute drive plus a 10-minute pad)
- 11:30 AM - 1:30 PM, getting ready
- Coverage start: 11:30 AM
Step 2: build forward through the reception to find the end.
- 4:00 - 4:30 PM, ceremony
- 4:30 - 5:30 PM, cocktail hour
- 5:30 - 5:35 PM, grand entrance
- 5:35 - 6:40 PM, dinner
- 6:40 - 7:00 PM, golden hour couples portraits, slipped out of dinner into the best light
- 7:00 - 7:15 PM, toasts
- 7:15 - 7:20 PM, first dance
- 7:20 - 7:30 PM, parent dances
- Coverage ends: 7:30 PM
Now the useful part. They booked eight hours, and built backwards, the day starts at 11:30 AM and ends at 7:30 PM, right as the cake cut and open dancing begin. The options are right there: book more hours, or accept that the dance floor isn't covered. You get to have that conversation 3 months in advance instead of discovering it at 7:25 with the couple on the floor. Building forward from a hopeful start time hides that decision until it's too late to make it. Building backwards puts it on the table while you can still change something.
Coverage
– · 8 hours
Notice you never chose the start time. You set the ceremony, and the day decided when coverage begins — that’s what building backwards means.
Getting ready
11:30 AM – 1:30 PM · 2 hrTravel to venue
1:30 PM – 2:00 PM · 30 minFirst look + couples portraits
2:00 PM – 2:30 PM · 30 minWedding party formals
2:30 PM – 3:00 PM · 30 minFamily formals
3:00 PM – 3:30 PM · 30 minPre-ceremony buffer
3:30 PM – 4:00 PM · 30 minCeremony
Anchor4:00 PM – 4:30 PM · 30 minCocktail hour
4:30 PM – 5:30 PM · 1 hrGrand entrance
5:30 PM – 5:35 PM · 5 minDinner
5:35 PM – 6:40 PM · 1 hr 5 minGolden hour couples portraits
6:40 PM – 7:00 PM · 20 minGolden hour — illustrative; real timing depends on your venue and date.
Open dancefloor
7:00 PM – 7:30 PM · 30 min
I did this by hand for years, on a Word template, across a couple hundred weddings. Eventually I built Daymarked so I wouldn't have to. You set the ceremony time and the day builds around it, with block durations you set once and reuse, and your couple's questionnaire answers filling in the details. The formals list comes out of the same answers. Your first wedding is free.
Build the day to bend
If you take one thing from all of this, let it be the part that took me years to trust: the best timeline isn't the one planned down to the minute. It's the one with enough room to absorb a day that never goes exactly to plan.
Find the anchors that can't move. Build backwards from the ceremony. Put honest numbers on each section, ask the questions that get you exact details, and leave yourself cushion in the places that tend to slip. Do that and the morning can run an hour long and the couple will never feel it. They'll just remember a day that felt calm, which is the whole job.